The best resolution for scanning old photos is usually 600 DPI for family prints, 1200 DPI for small prints or images you plan to crop, and the scanner's true optical resolution for slides or negatives. Higher numbers are not always better: they create larger files, slower workflows, and sometimes fake detail if the scanner is interpolating.
Scan once as a clean master file, keep the original scan untouched, then make copies for AI restoration, sharing, printing, and cloud backup. A careful scan gives every restoration tool better information to work with.
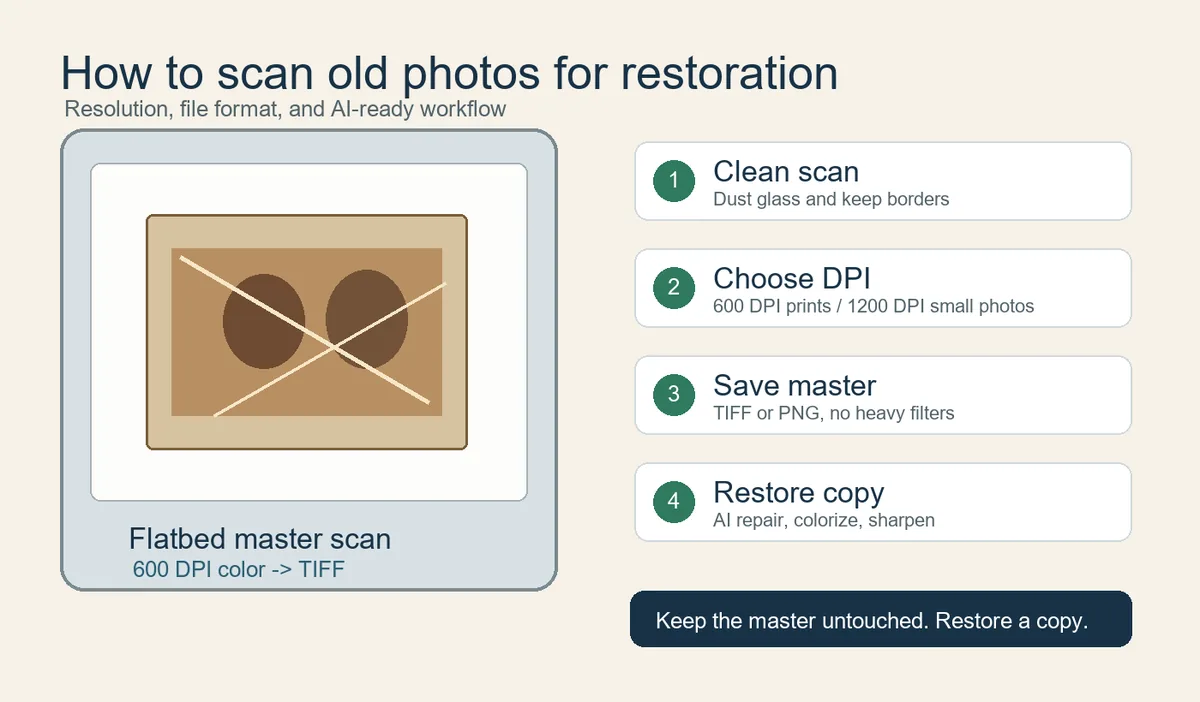
Table of Contents
- Quick Answer: Best Resolution for Old Photo Scans
- How to Choose DPI Without Creating Fake Detail
- Scanner Settings That Preserve Restoration Detail
- Flatbed Scanner vs Phone Scan
- Restoration-Ready Workflow After Scanning
- Practical References and Quality Checks
- Frequently Asked Questions
- Scan for the Restoration You Want Later
Quick Answer: Best Resolution for Old Photo Scans
For most printed family photos, start at 600 DPI in color mode. Use 300 DPI only for quick sharing or large prints that will not be cropped. Use 1200 DPI for wallet-size portraits, small school photos, damaged faces, or any image where you may crop tightly before restoration.
| Photo type | Recommended scan | Best format | Why it works |
|---|---|---|---|
| 4x6 or 5x7 family print | 600 DPI, 24-bit color | TIFF master plus JPEG/WebP copy | Captures enough real print detail for repair and reprint without oversized files. |
| Small portrait or locket photo | 1200 DPI | TIFF or PNG master | Small originals need more pixels before cropping or face repair. |
| Album page | 600 DPI for the full page, then crop copies | TIFF master | Preserves handwriting, layout, and photo order. |
| Phone scan | Use a scanning app with glare control | JPEG/HEIC plus backup | Useful when a flatbed is not available, but less ideal for print restoration. |
Use the least compressed master file you can reasonably store.
How to Choose DPI Without Creating Fake Detail
DPI describes how many pixels are captured per inch of the physical print. A 4x6 photo scanned at 600 DPI becomes about 2400 by 3600 pixels, enough for most restoration and reprinting jobs. Do not chase interpolated scanner settings that enlarge the file without adding true optical detail.
Use higher DPI when:
- The original print is smaller than 4x6 inches.
- You need to crop a face, signature, date stamp, or uniform detail.
- The photo is faded, cracked, scratched, or likely to need careful restoration.
- You plan to print larger than the original size.
Scanner Settings That Preserve Restoration Detail
Use color mode even for black-and-white photos. Old prints often contain warm paper tone, silvering, stains, or pencil marks that are useful for restoration decisions. Disable heavy automatic sharpening and aggressive color correction for the master scan.
| Setting | Recommended choice | Reason |
|---|---|---|
| Color mode | 24-bit color for prints | Keeps paper tone and stain information. |
| Auto correction | Off or low for master scan | Prevents irreversible contrast and color shifts. |
| Cropping | Keep a little border | Protects edges and handwritten notes. |
| Backup | Two locations | Prevents losing the only digital copy. |
Flatbed Scanner vs Phone Scan
A flatbed scanner is the safer choice for restoration because it keeps the photo flat, evenly lit, and square to the sensor. Phone scanning is convenient for albums and framed photos, but it can introduce glare, perspective distortion, compression, and uneven sharpness.
Restoration-Ready Workflow After Scanning
Dust the scanner glass, scan a master file as TIFF or high-quality PNG, create a working copy, restore the copy, and compare faces, clothing, handwriting, and background details against the untouched master before sharing or printing.
Once the scan is ready, use AI photo restoration for general repair, remove scratches from photos for cracked prints, colorize old photos, or old photo enhancer when the main issue is softness.
Practical References and Quality Checks
Google PhotoScan is useful when you need phone-based glare control, while scanner makers such as Epson document DPI ranges for different photo goals. Archive-oriented institutions emphasize stable master files and repeatable handling rather than one universal DPI number.
Useful references:
Frequently Asked Questions
Scan for the Restoration You Want Later
A good scan is not only about a DPI number. It is a preservation decision. Use 600 DPI for most family prints, increase to 1200 DPI for small or damaged originals, keep a lossless master, and make separate copies for AI restoration and sharing.

Sarah Mitchell, AI Photo Restoration Writer
Sarah writes about AI photo restoration, family-photo preservation, scanning workflows, and practical ways to repair old images without losing identity or historical context.