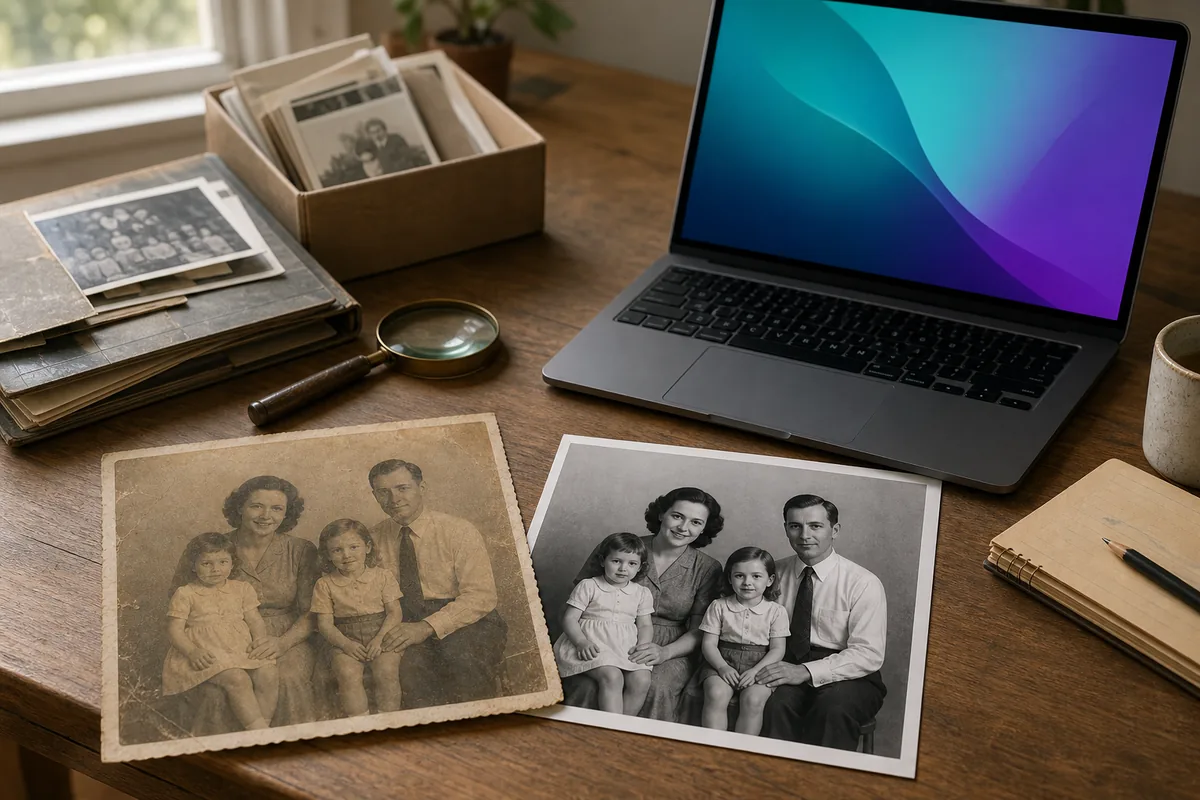
Canva photo restoration is useful when you want a fast, beginner-friendly repair for a scanned family photo. Canva's Restore Old Photos app can reduce moderate fading, creases, scratches, and small tears, then its editor can adjust brightness, contrast, color, and export size. It is best for shareable copies, albums, and simple prints—not for replacing an untouched archival scan or reconstructing a severely damaged face.
Quick answer: scan first, keep the master file untouched, restore a duplicate in Canva, compare faces and small details at 100%, and export a separate PNG or high-quality JPG. If the result invents facial detail or a large missing area, stop and use a manual editor or professional restorer.
In this guide
- Is Canva good for old photo restoration?
- Prepare the best source file before Canva
- How to restore old photos in Canva step by step
- Canva free vs Pro tools for restoration
- Check identity before you download
- When Canva is not enough
- Export settings and a safe file plan
- Canva photo restoration FAQ
- Use Canva as a careful working tool, not the archive
Is Canva good for old photo restoration?
Yes, for light to moderate damage. Canva's official photo restoration feature describes a workflow that opens Canva, finds Restore Old Photos under Apps, uploads a photo, runs Restore, compares before and after, then adds the result to a design for further editing or download. That makes it approachable for beginners who already use Canva.
Canva photo restoration fit by damage type
| Photo condition | Canva fit | Best next step |
|---|---|---|
| Mild fading, dust, fine scratches | Good starting point | Restore a duplicate, then adjust tone gently |
| Soft scan or low contrast | Often useful | Enhance carefully and compare at 100% |
| Small crease or tear | Worth testing | Check that nearby facial and clothing detail stays accurate |
| Large missing face area | Poor fit | Use manual reconstruction or a professional service |
| Wet, moldy, flaking original | Do not scan or clean casually | Ask a conservator before handling the physical print |
Canva repairs a digital copy; it does not conserve the physical photograph.
This guide is independent and is not affiliated with Canva. Feature names and free/Pro availability can change, so confirm the labels shown in your current Canva account.
Want a second restoration result to compare?
Try the site's AI photo restoration tool on a duplicate and compare both outputs with your original scan.
Try Photo RestorationPrepare the best source file before Canva
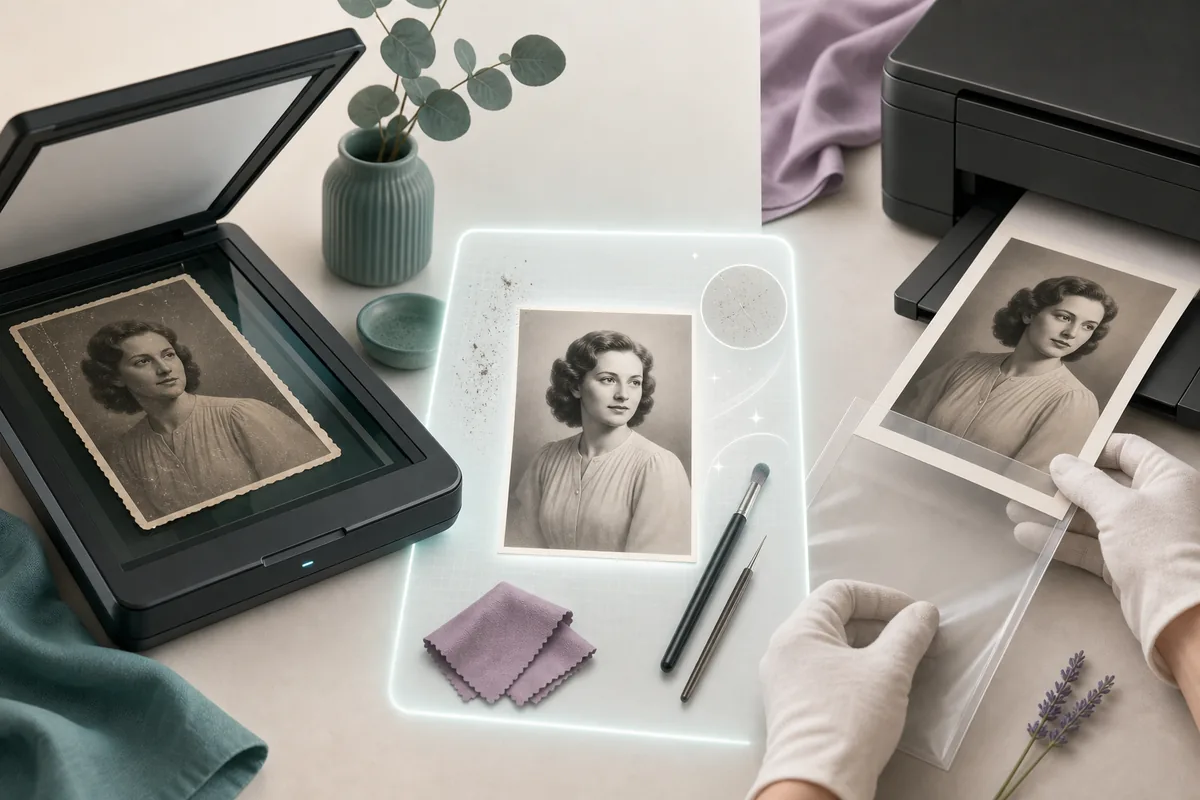
The restoration cannot recover detail that never reaches the upload. For a normal family print, start with a clean 600 DPI color scan when possible. Use 1200 DPI for a tiny original or a photo with very fine damage, but do not assume more DPI will create real detail. Our old photo scanning guide explains DPI, TIFF/PNG masters, phone scanning, and fragile-print handling in more depth.
Before uploading:
- Save an untouched TIFF or PNG master outside Canva.
- Create a separate working copy; never overwrite the only scan.
- Scan in color even when the print is black and white, because stains and paper tone carry useful information.
- Crop only the scanner bed or empty border; keep damaged edges until you decide how to repair them.
- Do not physically clean a wet, moldy, flaking, or historically important original from an online tutorial.
How to restore old photos in Canva step by step
- Open Canva in a browser or the mobile app and create a blank design large enough for your intended export.
- Upload the working copy of the scan. Keep the master file in a separate archive folder.
- Open Apps, search for Restore Old Photos, and select the restoration app shown in your account.
- Run Restore once. Use the before/after control to inspect the whole image before stacking more edits.
- Choose Add to design or its current equivalent so the restored result becomes a separate editable asset.
- Use basic adjustments—brightness, exposure, white balance, contrast, and saturation—in small amounts. Avoid aggressive sharpening around eyes, hair, and patterned clothing.
- Download a new PNG or high-quality JPG. Keep the original scan, Canva working copy, and final export as separate files.
Run restoration before decorative filters, frames, text, or background changes. Those additions can hide defects and make before/after judgment harder. If you also want colorization, first approve the monochrome restoration, save it, and colorize a new duplicate. This keeps repair decisions reversible.
If you cannot find Restore Old Photos, search Apps rather than only the main Edit Photo panel. App names, availability, and limits may vary by account, device, region, and Canva updates.
Canva free vs Pro tools for restoration
Canva presents its core AI old photo restoration tool as free, while several finishing tools mentioned on the same official page—such as Magic Edit, Magic Expand, and Magic Eraser—are marked Pro. Treat that as a current product boundary, not a permanent promise. Your account should show the final availability and any usage limit before you commit to a workflow.
| Task | Likely tool | Practical caution |
|---|---|---|
| Automatic old-photo repair | Restore Old Photos app | Review faces and repeated textures before accepting |
| Brightness and white balance | Basic photo adjustments | Make small moves and compare with the scan |
| Remove an isolated object or mark | Magic Eraser (often Pro) | It may invent nearby texture |
| Rebuild beyond the original edge | Magic Expand (Pro) | Generated content is not historical evidence |
| Replace a missing object | Magic Edit (Pro) | Use only for a clearly labeled creative copy |
For a family archive, the safest distinction is not simply free versus paid. It is restoration versus invention. Tone correction and dust cleanup can clarify evidence already present; generative replacement or expansion can create plausible but unverified content. Label creative versions and never let them replace the archival master.
Check identity before you download
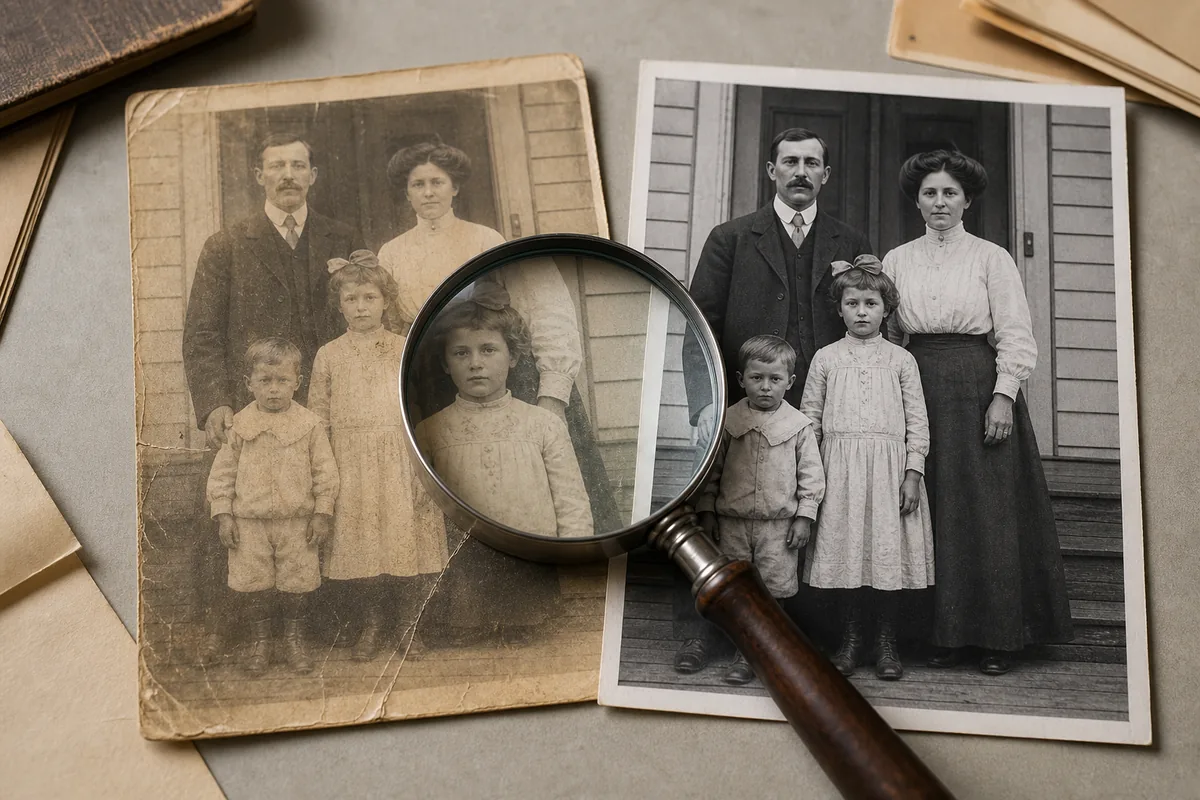
AI restoration can make a face look cleaner while quietly changing it. Compare the restored image with the untouched scan at the same zoom. Check eye spacing, eyelids, mouth shape, hairline, ears, jewelry, uniform insignia, text, and the relationship between hands and objects. A pleasing result is not automatically a faithful result.
Use a three-pass review:
- At 25% zoom, check overall tone, crop, and whether the photo still feels like the same era.
- At 100% zoom, compare faces, edges, fabric, and repeated background patterns.
- Ask a relative who knows the person to review identity before printing or sharing a definitive family-history copy.
- If a detail cannot be verified, preserve ambiguity instead of sharpening it into a confident invention.
When Canva is not enough
Move to a manual workflow when the photograph has a face-sized missing area, torn pieces that must be aligned, handwriting that must remain exact, complex emulsion damage, or an important historical context. Our Photoshop old photo restoration tutorial covers reversible layers, controlled repair, and print export. The photo restoration software comparison helps choose among desktop, online, open-source, and mobile options.
Canva is also a poor choice for a physical original that is wet, stuck to glass, covered in active mold, or shedding its image layer. Software can repair a scan only after the object is handled safely. A photograph conservator or qualified archive may be more valuable than any editing feature in those cases.
Privacy matters: family photos may contain children, addresses, uniforms, medical settings, or sensitive history. Review Canva's current privacy and AI terms before uploading material you do not have permission to process.
Export settings and a safe file plan
| File | Suggested format | Purpose |
|---|---|---|
| Untouched master | TIFF or PNG | Archive the scan exactly as captured |
| Canva working copy | Canva design plus uploaded duplicate | Keep adjustments editable |
| Restored archive copy | PNG | Preserve a lossless or near-lossless finished version |
| Sharing copy | High-quality JPG | Smaller file for email and family sharing |
| Print file | PNG or maximum-quality JPG | Match pixel dimensions to print size and lab requirements |
Name files so the chain is obvious, for example smith-family-1948_scan-master.png, smith-family-1948_canva-v1.png, and smith-family-1948_print.jpg. Store at least two copies on different devices or services. The goal is not only a nicer picture today, but a traceable record that a future relative can understand.
Canva photo restoration FAQ
Use Canva as a careful working tool, not the archive
Canva photo restoration is a sensible first pass for moderate damage when speed and simplicity matter. The reliable workflow is conservative: make a strong scan, protect the master, restore one duplicate, review identity at multiple zoom levels, and export a clearly named copy. When the image contains major missing information or historically important detail, switch to a controlled manual workflow rather than asking AI to guess.

Sarah Mitchell
Our team tests practical workflows for family-photo scanning, restoration, identity review, and archival export.