To restore an old photo in Photoshop, begin with a high-resolution scan, duplicate the source layer, repair structural damage with localized tools, correct tone and color with adjustment layers, and verify every face against the original before export.
The goal is not maximum smoothness. It is a believable, reversible restoration that preserves the evidence in the photograph.
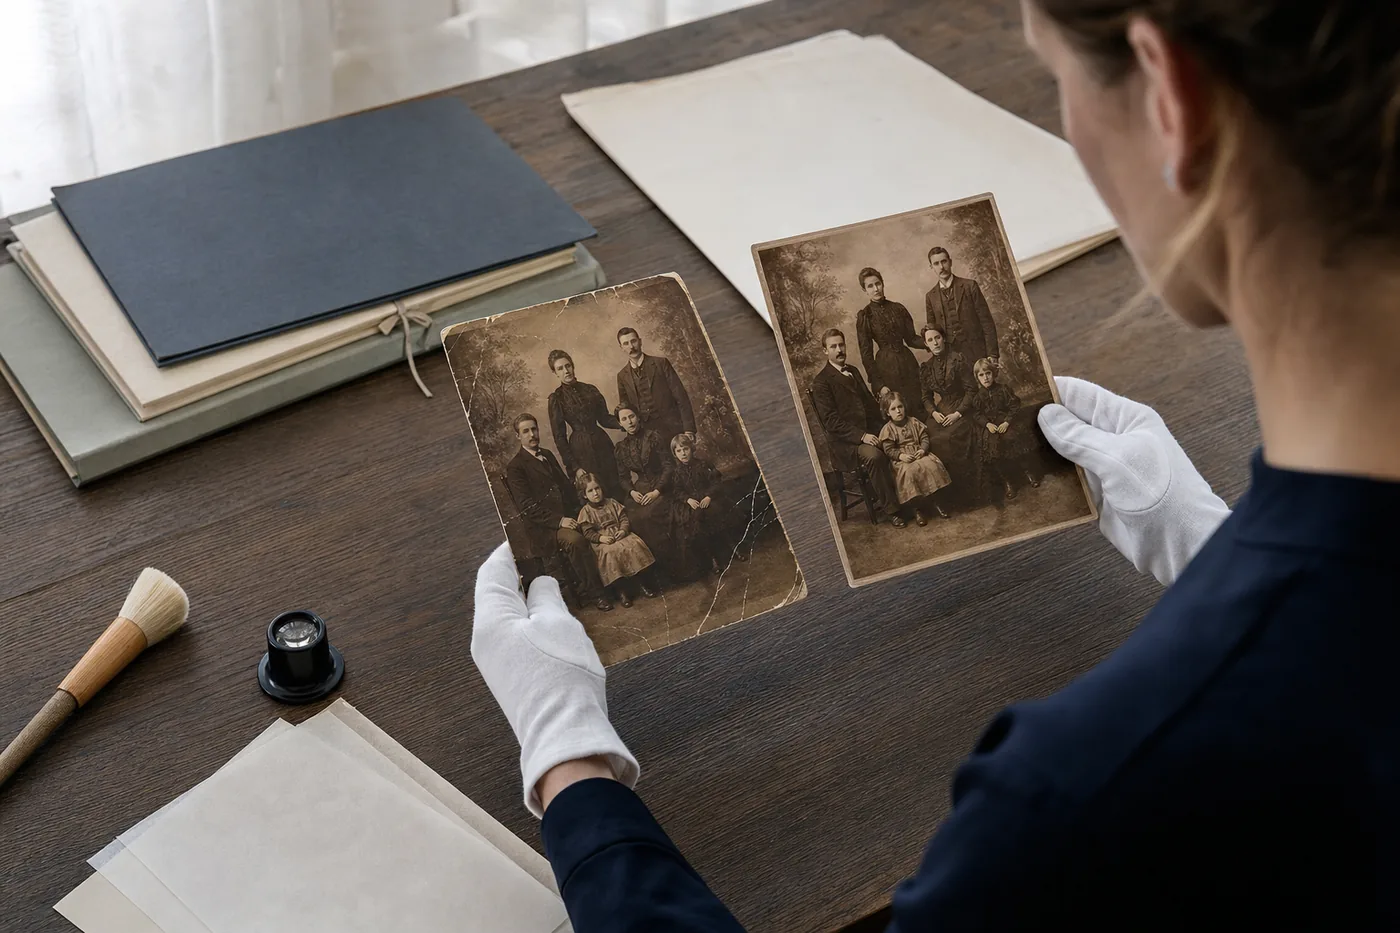
In this guide
- The safest Photoshop restoration workflow at a glance
- 1. Start with a scan that can survive editing
- 2. Build non-destructive layers, then repair damage
- 3. Restore tone and color, and keep AI under control
- 4. Run an identity and artifact check
- 5. Export separate archive, print, and web copies
- Photoshop old photo restoration FAQ
- Restore carefully, then stop before the photo becomes a new invention
The safest Photoshop restoration workflow at a glance
Photoshop works best when restoration is a sequence of small, reversible decisions. If you only need a quick automatic result, compare options in our photo restoration software guide before committing to a manual workflow.
| Stage | Photoshop method | Goal | Stop when |
|---|---|---|---|
| Prepare | High-resolution scan, crop, rotate | Create a clean master | The whole photo and borders are captured |
| Protect | Duplicate layer, Smart Object, masks | Keep edits reversible | The untouched scan remains available |
| Repair | Remove Tool, Healing Brush, Clone Stamp | Fix dust, scratches, tears | Damage fades without repeated texture |
| Tone | Levels, Curves, Camera Raw | Recover contrast and faded detail | Faces still look natural |
| Finish | Selective sharpening, optional Neural Filters | Improve readability without inventing identity | Eyes, mouth, hairline, and clothing match |
Use the least aggressive tool that solves the visible problem.
1. Start with a scan that can survive editing
A restoration cannot recover detail that was never captured. Scan the original and avoid working from a compressed social-media copy. Our old photo scanning guide explains DPI, format, and fragile-print handling.
- Scan most small prints at 600 dpi; use more for tiny faces or severe damage.
- Save an untouched TIFF or high-quality PNG master.
- Photograph oversized prints square-on with even light when scanning is unsafe.
- Keep a version that includes borders, writing, and photographer marks.
- Create a separate working copy with clear version names.
Do not physically clean moldy, wet, flaking, or historically valuable originals based on a software tutorial. Consult a conservator for unstable material.
2. Build non-destructive layers, then repair damage
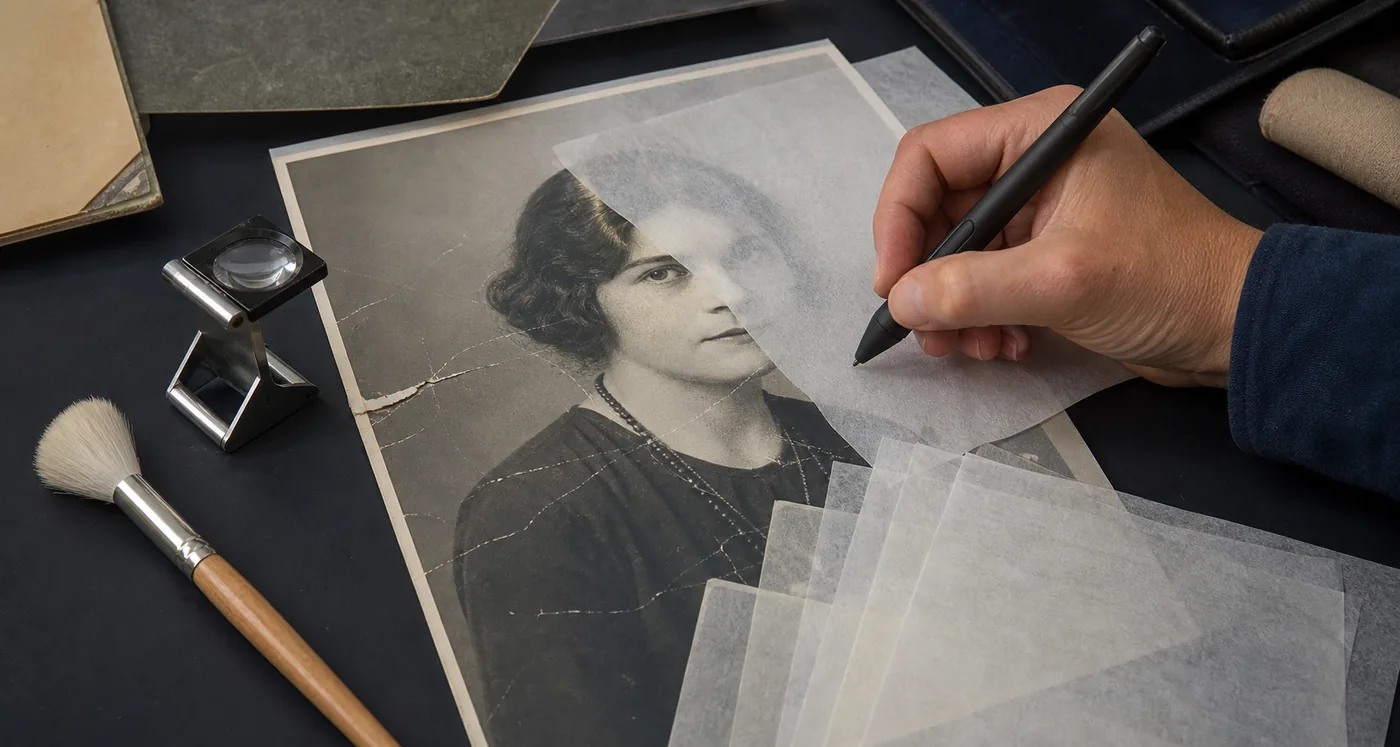
Duplicate the background, convert the copy to a Smart Object when useful, and retouch on empty layers that sample the current layer and below. This keeps the scan available for comparison and prevents one mistake from becoming permanent.
A practical layer stack
- Selective sharpening mask at the top.
- Curves, Levels, or color adjustment layers.
- Retouch layer for Remove and Healing tools.
- Clone layer for edges and repeating backgrounds.
- Protected source scan at the bottom.
| Damage | Best first tool | Technique | Avoid |
|---|---|---|---|
| Dust and pinholes | Remove or Spot Healing | Brush slightly larger than the defect | Sweeping across large areas |
| Long scratch | Healing Brush in short segments | Resample often | One stroke that repeats texture |
| Torn edge | Clone Stamp plus mask | Rebuild structure before texture | Mirroring a face or hand |
| Large gap | Content-Aware Fill, then cleanup | Limit the sampling area | Accepting unsupported objects |
Adobe's Content-Aware Fill guide explains sampling controls. For fast automatic cleanup, try the photo scratch remover, then verify valuable portraits manually.
3. Restore tone and color, and keep AI under control
Use Levels or Curves to set believable black and white points, correct uneven fading with masks, and treat colorization as interpretation unless colors are documented. Photoshop's Neural Filters can help, but compare them with the broader AI photo restoration techniques guide.
- Preserve texture in skin, white clothing, clouds, and borders.
- Keep shadow detail in dark suits and hair.
- Mask local corrections instead of applying one global fix.
- Add grain only when repaired areas look unnaturally smooth.
| AI suggestion | Reasonable use | High-risk use | Verification |
|---|---|---|---|
| Color prediction | Plausible viewing copy | Claiming historical accuracy | Check records and clothing |
| Face enhancement | Clarifying mild blur | Replacing eyes, teeth, or age | Toggle the layer and compare landmarks |
| Generative fill | Extending a simple background | Inventing missing people | Require strong source context |
| Noise reduction | Reducing scanner noise | Removing grain and skin texture | Inspect at 100% and print size |
Keep an untouched scan and label colorized or reconstructed versions when sharing family history.
4. Run an identity and artifact check
Compare the result beside the original at the same scale. A technically cleaner image can be a worse historical record if it changes facial geometry, deletes meaningful marks, or turns real grain into plastic skin.
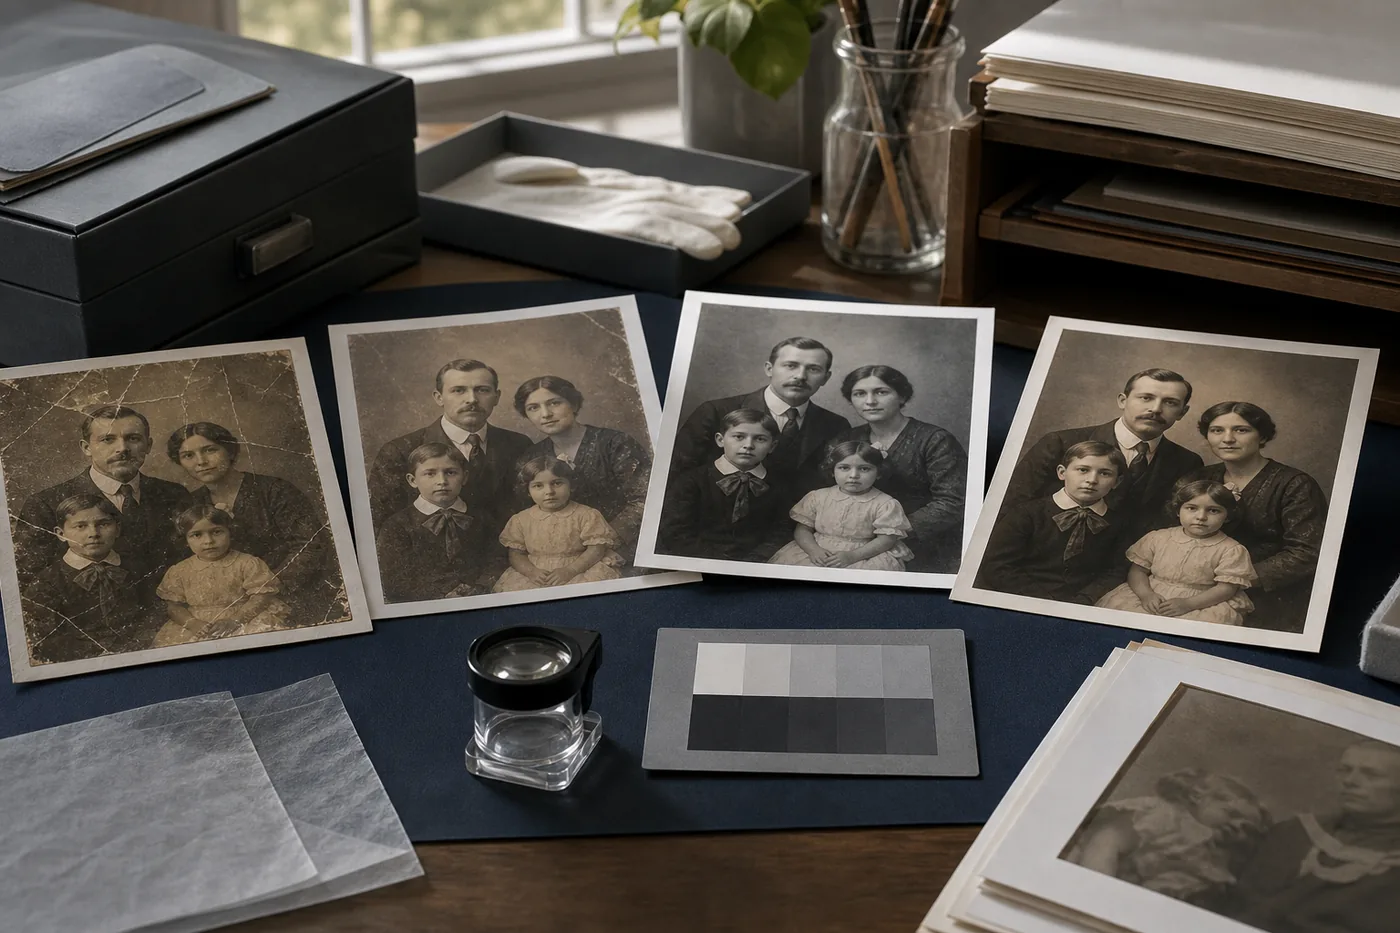
Before approval, check:
- Eyes, eyebrows, mouth corners, hairline, ears, and face width still match.
- Hands, medals, jewelry, writing, and clothing seams were not deleted.
- Repeated texture, doubled objects, halos, and smeared edges are absent.
- Skin texture and grain remain consistent across repaired areas.
- The image looks believable at intended print size.
5. Export separate archive, print, and web copies
| Copy | Format | Resolution / color | Purpose |
|---|---|---|---|
| Archive master | TIFF or PSD | Full resolution, embedded profile | Preservation and future editing |
| Print copy | TIFF or maximum-quality JPEG | 300 ppi at final size | Lab or home printing |
| Web copy | JPEG or WebP | sRGB, resized | Email and online albums |
Keep the untouched scan, layered working file, and final export as separate files. See Adobe's official restoration overview and the Library of Congress photograph care guidance for physical originals.
Photoshop old photo restoration FAQ
Restore carefully, then stop before the photo becomes a new invention
A strong restoration uses an untouched scan, reversible layers, localized repairs, gentle tonal work, and a final identity check. Preserve the people and the photographic evidence, not just a smoother surface.

Old Photo Restoration Team
Our editorial team tests archive-first workflows for family photos, scanning, AI repair, and identity-preserving retouching.