The safest way to clean old photos is to start dry, use the lightest touch possible, and stop before you disturb the image layer. For most family prints, that means a blower, a very soft brush, clean nitrile gloves, and a microfiber cloth used only on stable glossy surfaces. Water, household sprays, tissues, and scrubbing are where many good intentions turn into permanent damage.
If the print is wet, moldy, stuck to glass, flaking, or brittle, do not keep cleaning at home. Stabilize it, scan only if safe, and get preservation advice before trying to remove residue.
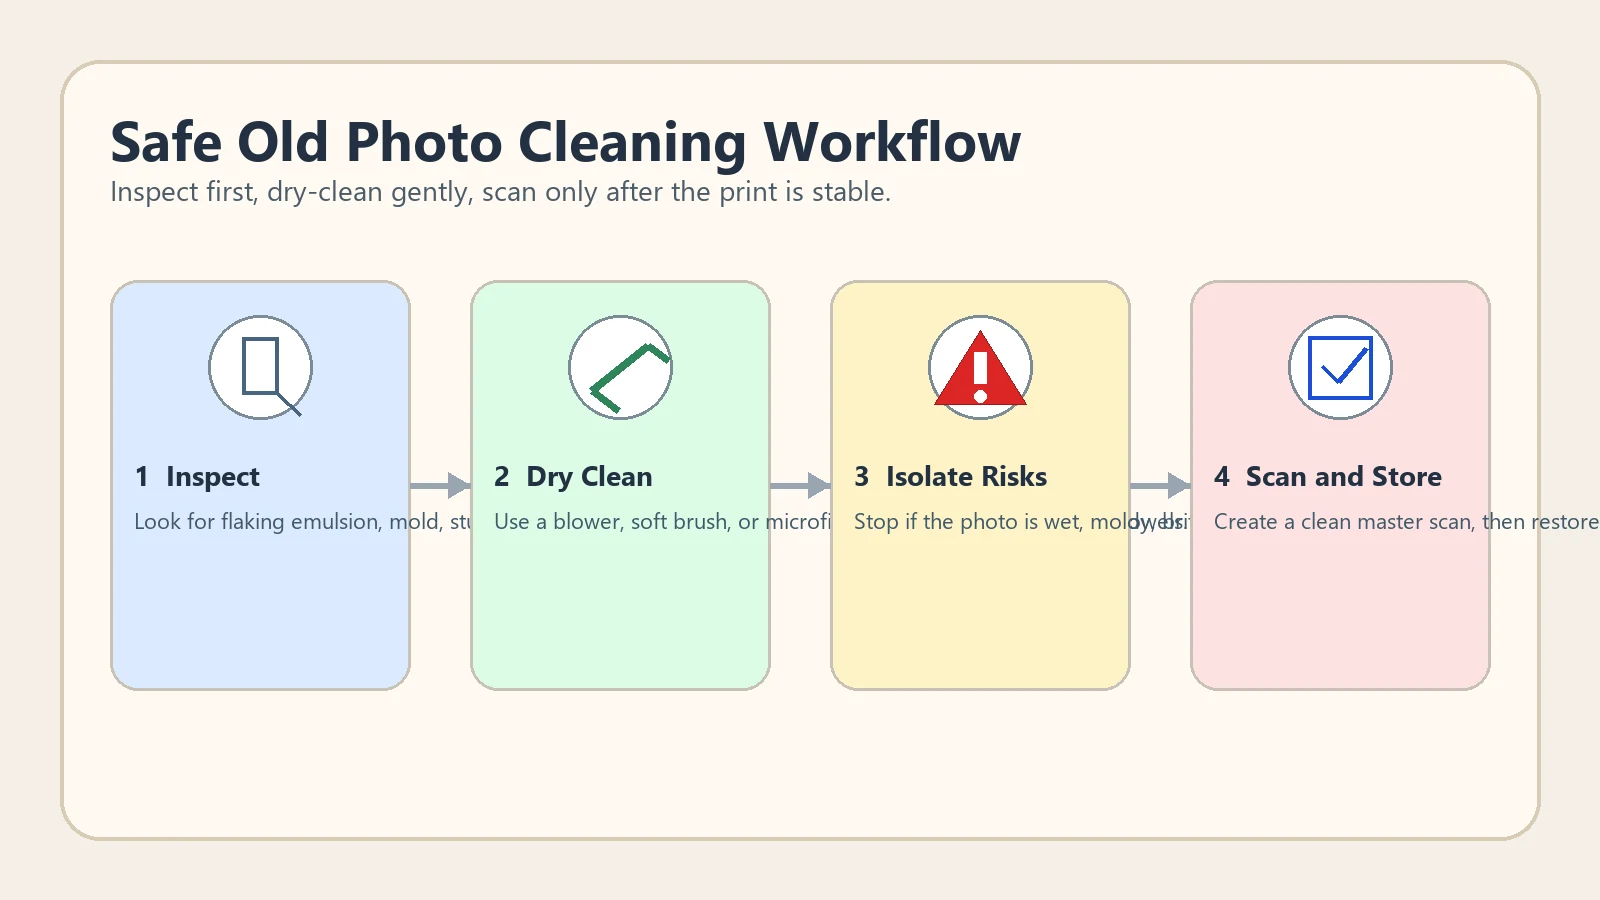
Table of Contents
- Quick Answer: How to Clean Old Photos Without Damaging Them
- Dry Cleaning Tools That Are Usually Safe for Family Prints
- What Not to Use on Old Photographs
- When to Stop and Ask for Preservation Help
- What to Do After Cleaning: Scan a Master, Restore a Copy
- Practical References and Preservation Notes
- Frequently Asked Questions
- Clean Less, Protect More
Quick Answer: How to Clean Old Photos Without Damaging Them
To clean old photos safely, wear clean gloves, support the print on a flat table, use a bulb blower or soft anti-static brush to remove loose dust, and wipe only stable glossy surfaces with a clean microfiber cloth. Do not spray water, alcohol, glass cleaner, or household chemicals directly onto the photo. If the emulsion is lifting, the paper is cracked, or mold is visible, stop and treat it as a preservation problem first.
| Situation | Safe first step | What to avoid | Best next action |
|---|---|---|---|
| Loose surface dust | Bulb blower or very soft brush | Paper towels, rough cloths | Scan after the surface looks clear |
| Fingerprint smudges on glossy prints | Microfiber cloth with light pressure | Circular scrubbing | Test one corner first |
| Mold, water damage, or stuck album residue | Isolate the print and stop cleaning | Soaking or peeling | Get preservation guidance |
| Cracks, flaking emulsion, brittle paper | Handle as little as possible | Flexing the photo flat | Scan carefully and restore digitally |
Dry, low-pressure cleaning is the default. Anything more aggressive should be treated as a conservation decision, not a casual home fix.
Dry Cleaning Tools That Are Usually Safe for Family Prints
The goal is to remove loose debris without grinding it into the surface. Start with the least-contact tool and move to light contact only when the print is stable. Keep your table clean, avoid eating or drinking nearby, and clean one photo at a time so dust from a damaged print does not spread to the next one.
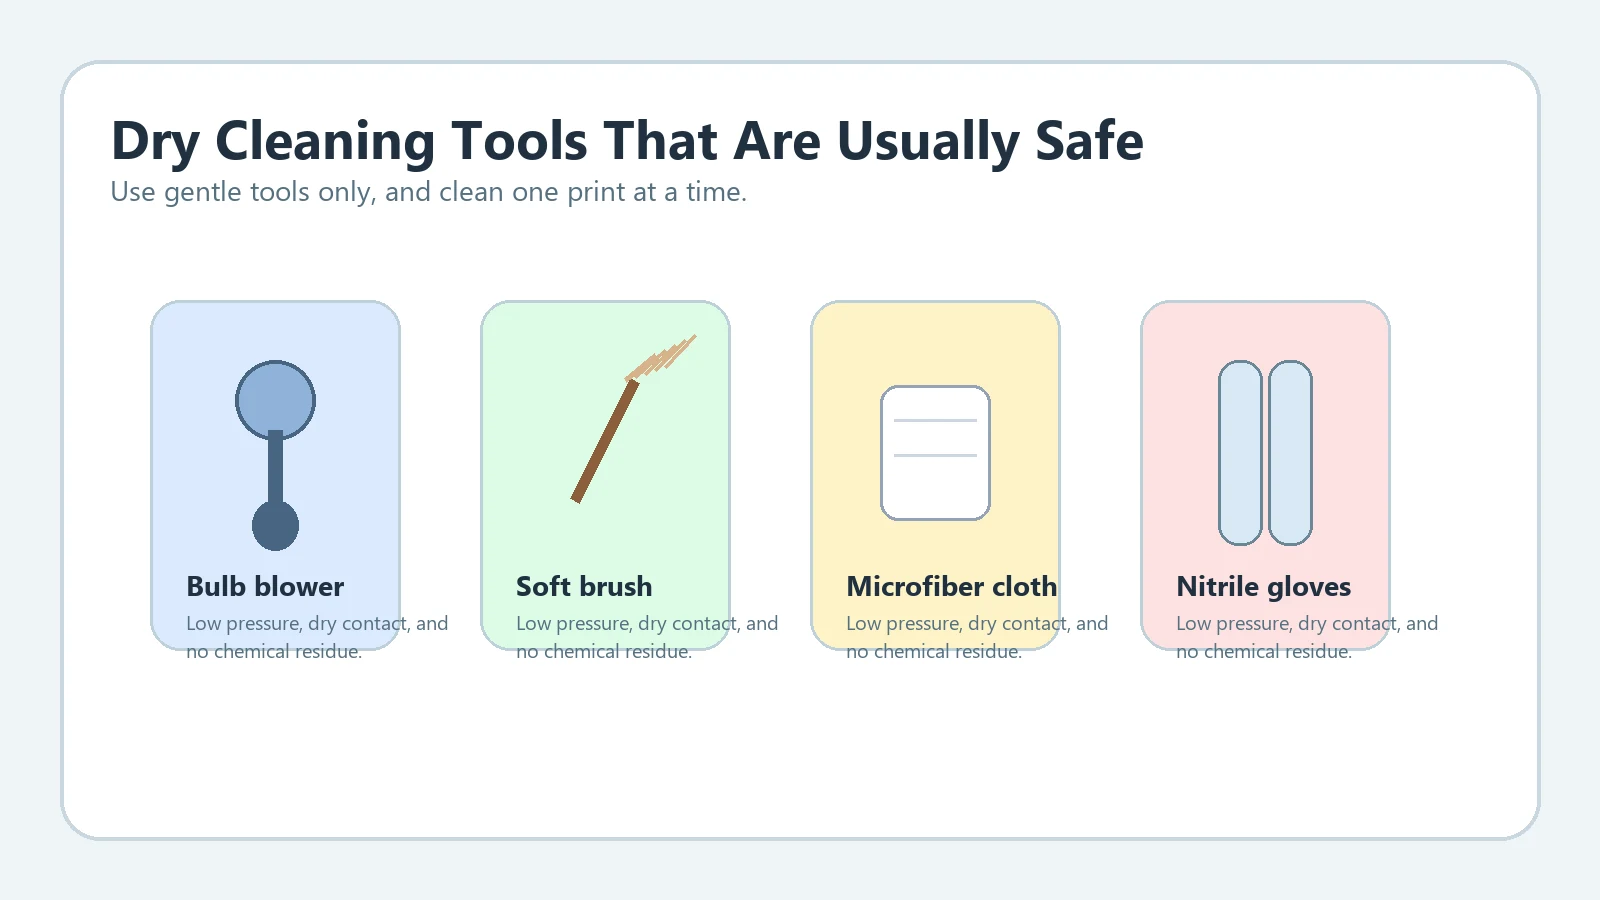
Recommended tools:
- Bulb blower for loose dust and grit
- Soft anti-static brush for light surface particles
- Lint-free microfiber cloth for stable glossy prints
- Clean nitrile gloves when fingerprints are a risk
- A rigid backing board under curled or cracked prints
Avoid canned air for delicate prints. The pressure can be too strong, and propellants are not something you want landing on a historic family photo.
What Not to Use on Old Photographs
Most household cleaning advice is wrong for photographs because it treats them like glass, plastic, or ordinary paper. Old prints often have fragile coatings, silver image layers, album residue, and age-related cracking. Even a small amount of moisture can swell the surface and make it stick to cloth or scanner glass.
Do not use these on old photos:
- Window cleaner, vinegar, bleach, or multi-surface sprays
- Alcohol wipes unless a trained conservator has identified a safe process
- Paper towels, tissues, cotton balls, or abrasive makeup pads
- Tape, glue, erasers, or magic-eraser style sponges
- Hot hair dryers or direct sunlight to dry wet photos quickly
If you are dealing with sticky album residue, mud, mildew, or prints fused together, the safer answer is usually to stabilize first and do the repair in the digital copy later. That is where a careful scan workflow becomes more valuable than aggressive physical cleaning.
When to Stop and Ask for Preservation Help
Stop immediately if you see mold, active dampness, flaking emulsion, paper that feels glued to glass or album pages, or damage that spreads when you flex the print slightly. These are not normal dust-removal jobs. They are preservation risks where one more wipe can remove image detail forever.
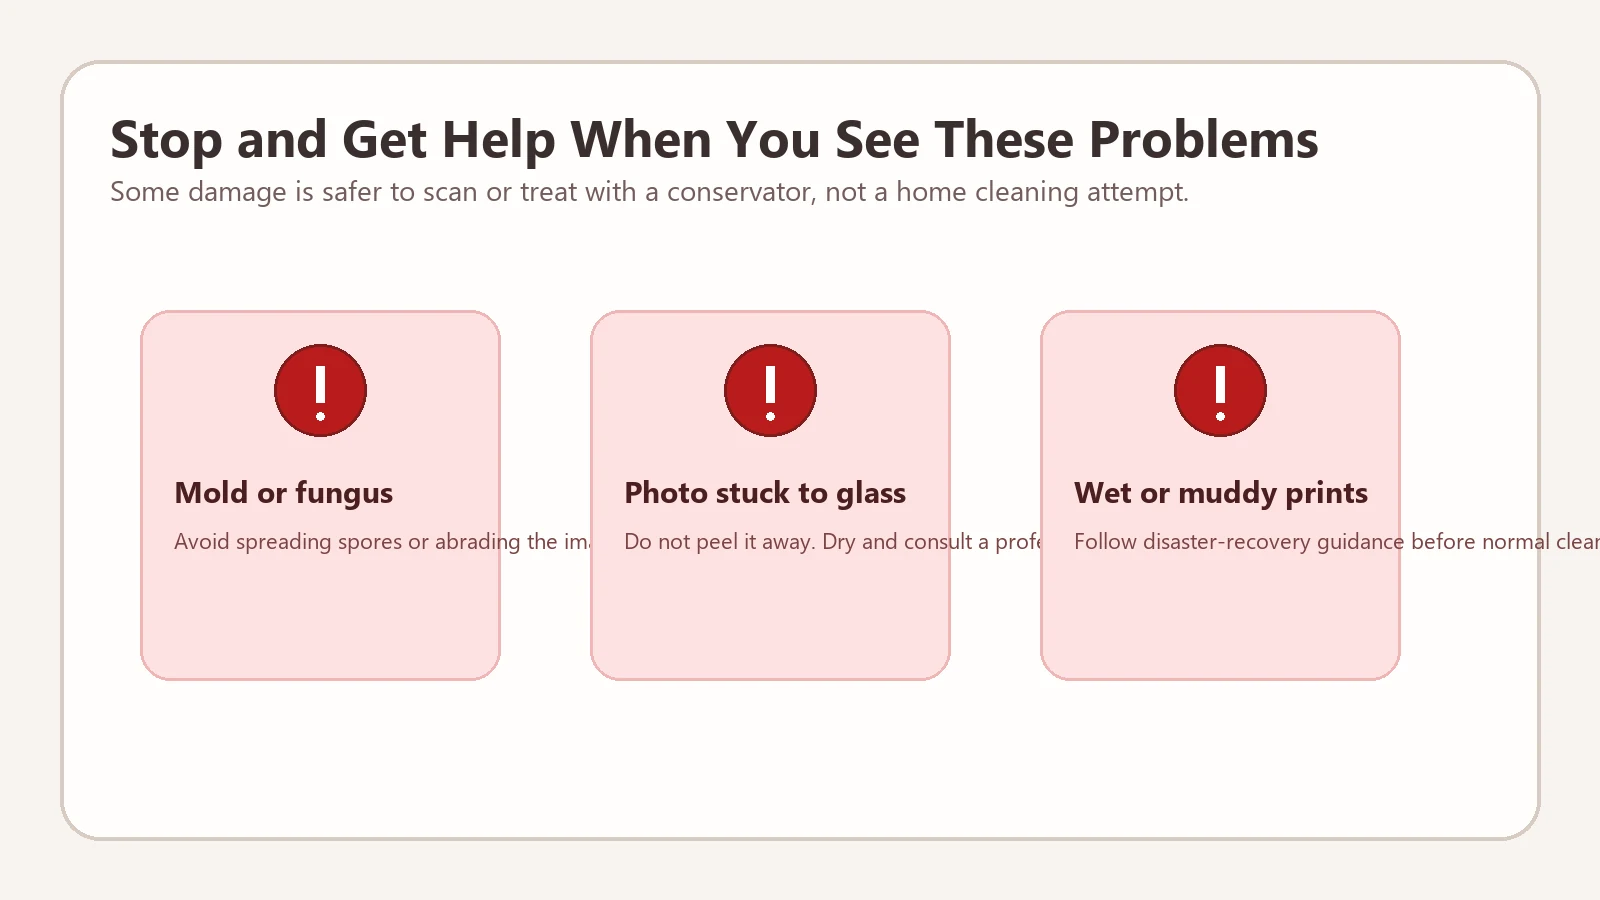
High-risk warning signs:
- Powdery mold or a musty smell
- Surface cracking that sheds image material
- Photo stuck to frame glass or another print
- Wet, muddy, or smoke-damaged paper
- Hand-tinted, one-of-a-kind, or historically important originals
What to Do After Cleaning: Scan a Master, Restore a Copy
Once the print is dry and stable, create a high-quality master scan before you do any restoration. Keep that master untouched. Then work on a duplicate file for repair, contrast correction, scratch removal, or colorization. This protects the historical record and gives you a clean point of comparison if AI restoration changes something important.
A practical sequence is: inspect, dry clean, scan at the right DPI, archive the master, then use a dedicated digital workflow. If the print has surface scratches, go to remove scratches from photos. If the main problem is softness or low detail, use old photo enhancer. If a black-and-white print needs believable color after cleanup, use colorize old photos.
Already Finished the Cleaning Step?
If your print is stable and scanned, move the risky fixes into a digital workflow instead of touching the paper again.
Restore an Old PhotoPractical References and Preservation Notes
Preservation organizations usually agree on the same principle: minimal intervention is safer than improvised cleaning. Family-photo restoration works best when you combine basic handling care with a digital workflow that keeps the original physical print out of danger.
Useful references:
Frequently Asked Questions
Clean Less, Protect More
The safest old-photo cleaning method is conservative: remove loose dust, avoid moisture and household chemicals, stop when the surface looks unstable, and move the real repair work into a digital copy. That approach preserves more of the original print and gives AI restoration a better starting point.

Sarah Mitchell, AI Photo Restoration Writer
Sarah writes about AI photo restoration, family-photo preservation, scanning workflows, and practical ways to repair old images without losing identity or historical context.